Home Theater AV Receiver Setup Guide
SKU: Home theater av receiver setup guide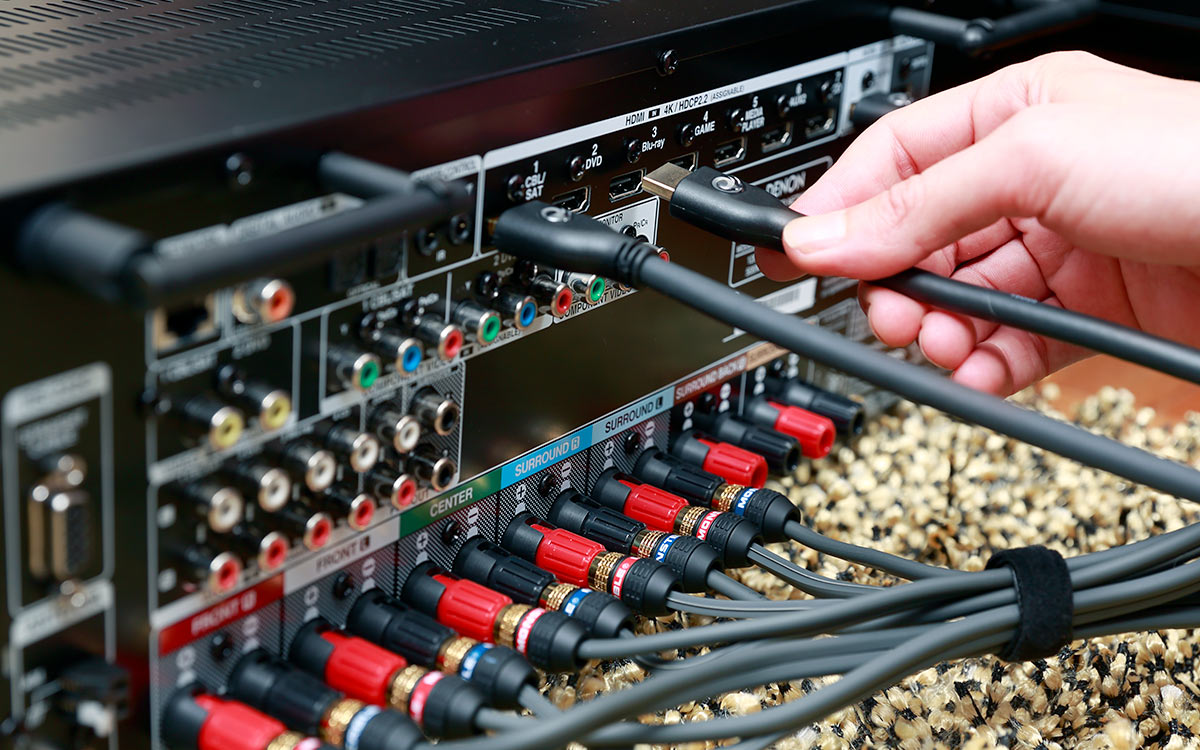
Home theater receiver setup guide
How to hook it up and tweak it like a pro
Are you the proud owner of a brand new home theater receiver and surround sound speaker system? Want to save money by doing your own installation? Here are some tips to get you going.
Getting ready
For a basic installation, you won’t need a lot of tools.
A wire cutter/stripper is essential. A flashlight may come in handy. And you may need a laptop or tablet to read the instructions or watch the how-to videos you'll find below.
Many receivers don’t come with printed manuals, just links to online documents. But most receivers do come with a short quick-start guide that covers the essential steps to get you up and running.
Before you roll up your sleeves to get started, read the quick-start guide and the tips below. Then make a plan and a shopping list. Your project will go a lot smoother if you have all the parts you need on hand before you begin.
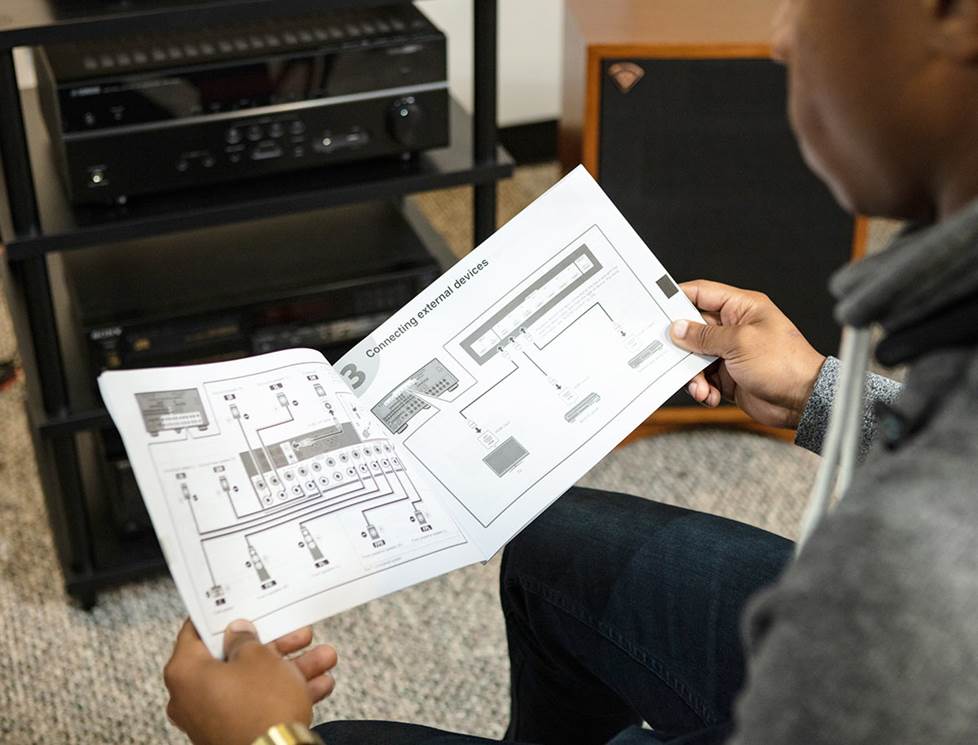
Your receiver's quick start guide will help you get up and running in a hurry.
Label your cables and speaker wires
Do you have label-making plan? Labels make it easy to keep track of what goes where. Some day you may want to move or replace your receiver. That’s the day you’ll thank yourself for labeling the cables now.
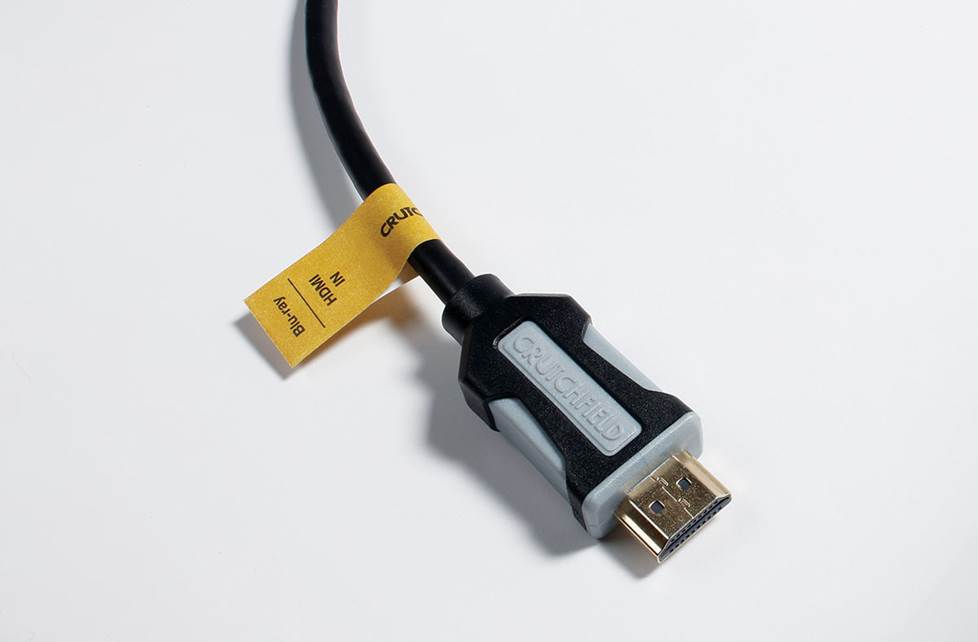
Take the time to label your cables. In the long run, you'll save time and aggravation.
Where will the receiver go?
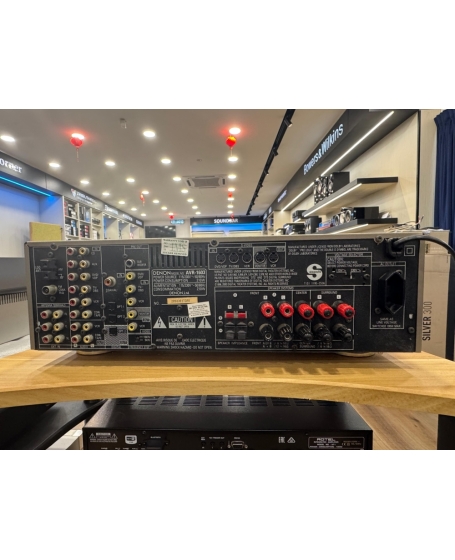
Pick a spot that’s well ventilated. Make sure you’ll have easy access to the connections on the back of the receiver.
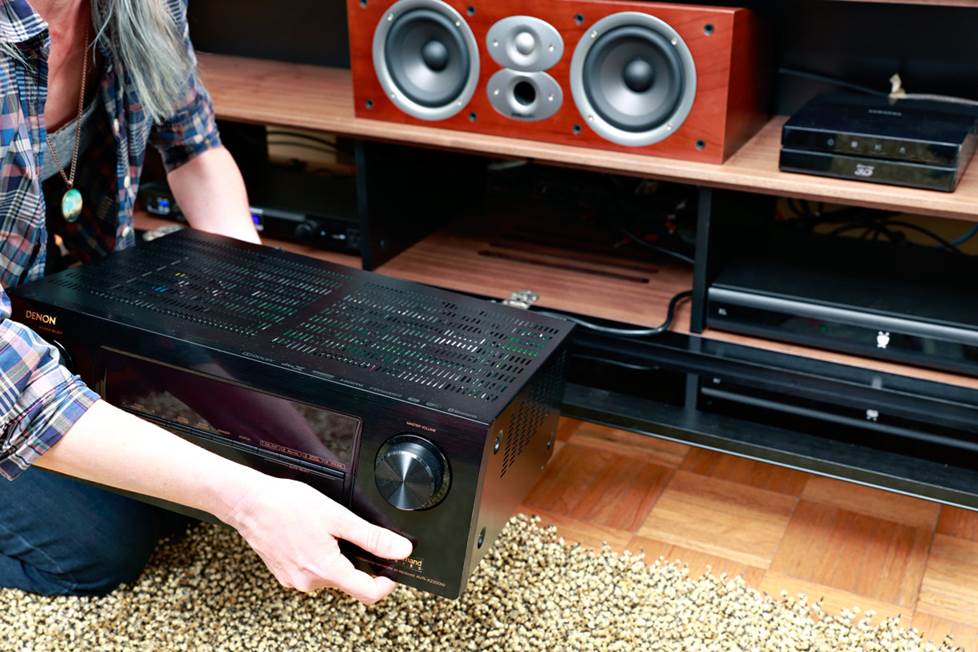
Make sure you leave some breathing room above your receiver.
Do you want your receiver to be heard, but not seen? Read our home theater receiver placement article. You’ll learn about installer-friendly entertainment furniture that hides your gear behind closed doors. You’ll also find some ideas about how to conceal your gear in a closet or utility room.
Where will the speakers go?
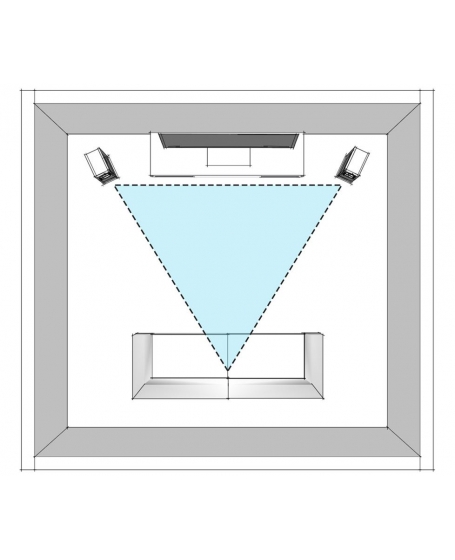
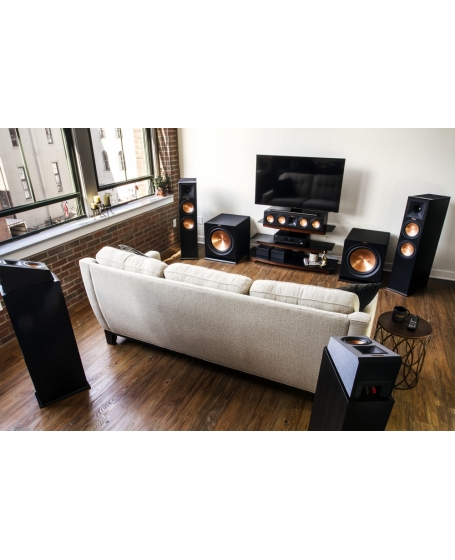
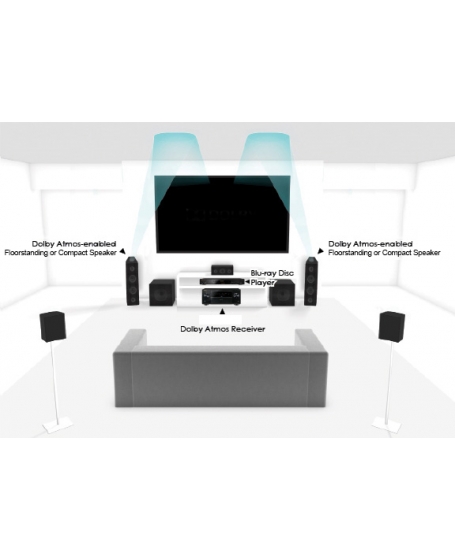
Do you know where all your speakers will go? If not, see our article on speaker placement for home theater.
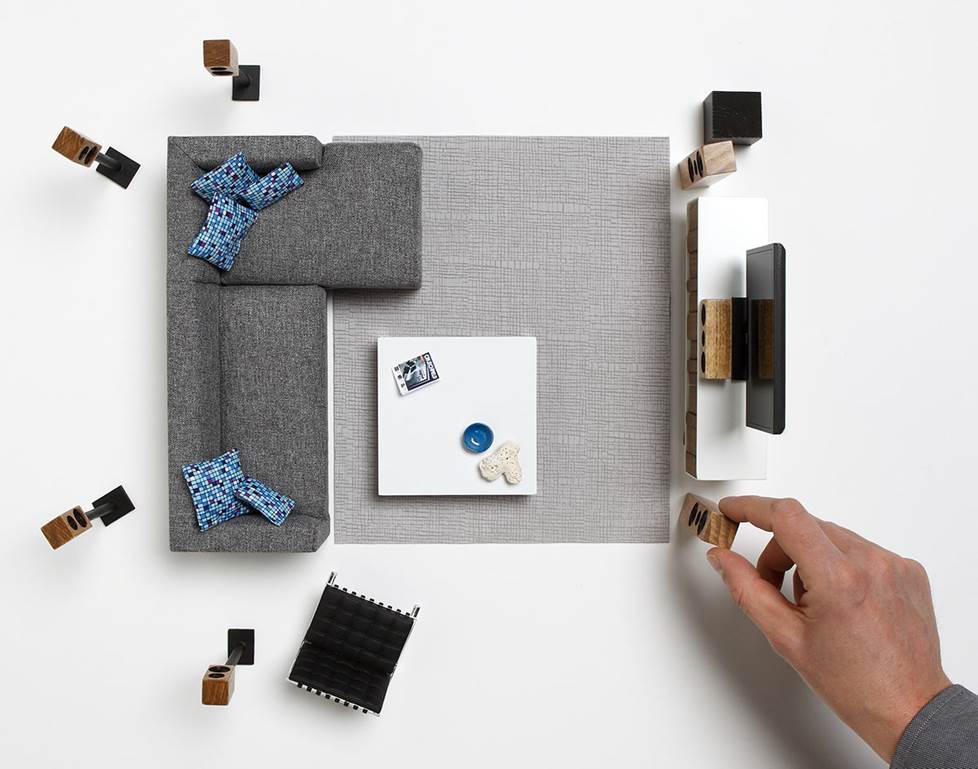
Map out your speaker locations. Then take some measurements to determine how much speaker wire you need.
How much speaker wire will you need?
Once you know where your speakers and your receiver are going, you can figure out how much speaker wire you’ll need. Use your tape measure to get a rough idea. Or use a long piece of string to simulate each wire run, then measure the strings.
Want to hide the rear speaker wires?
What’s the best way to run wires to the rear speakers? You have three main options, two of which are no sweat for DIY installers.
- Buy flat wire for under-the-carpet runs.
- Use raceways (also known as cable tunnels) to hide wires without cutting into your walls.
- Conceal wires behind your walls or baseboards. To get a feel for what’s involved, read our guide to in-wall wiring.
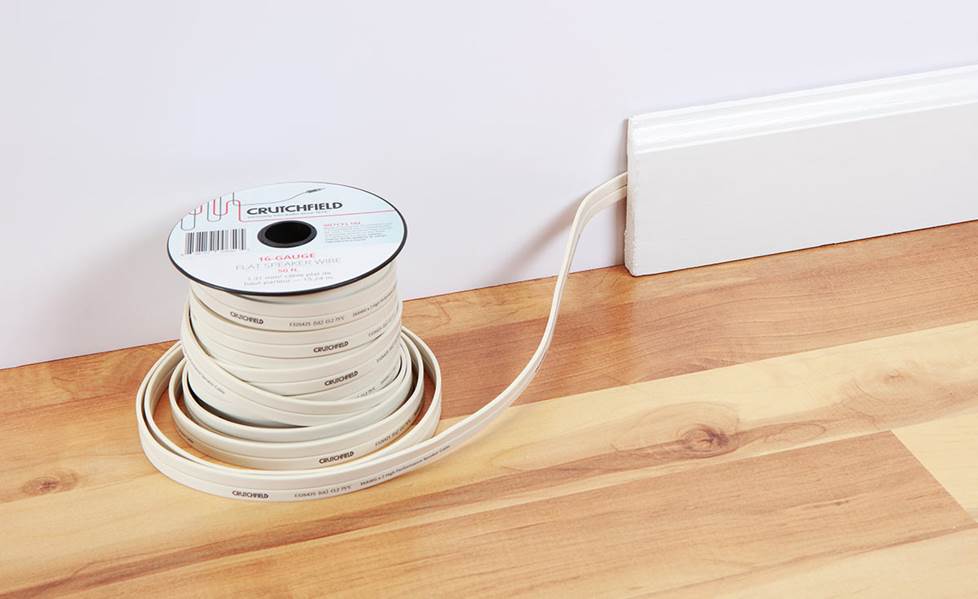
Use flat speaker wire when you want to conceal it behind your baseboard or under your carpeting.
Speaker connections
Prepping the speaker wires can be a tedious job, but take your time and do it right. You need secure connections that will stay put for years.
Why you need speaker wire connectors
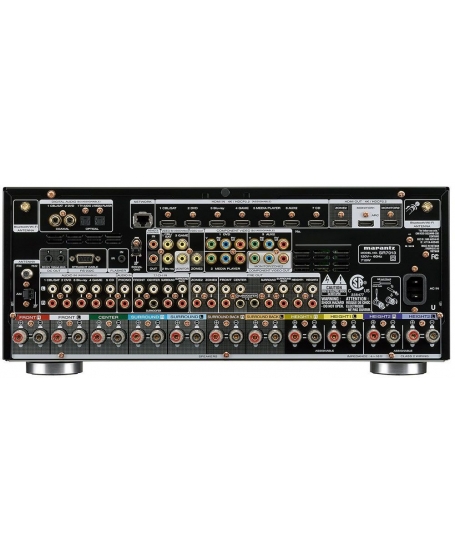
Connecting bare speaker wires to a receiver is a real pain. You’ll be making at least 10 connections in a crowded pack of input jacks. A single stray wire strand could cause a short circuit that shuts down your receiver.
Do yourself a favor and get a bunch of banana connectors (four per speaker wire). A 20-pack will dress both ends of each speaker wire in a 5.1 speaker system.
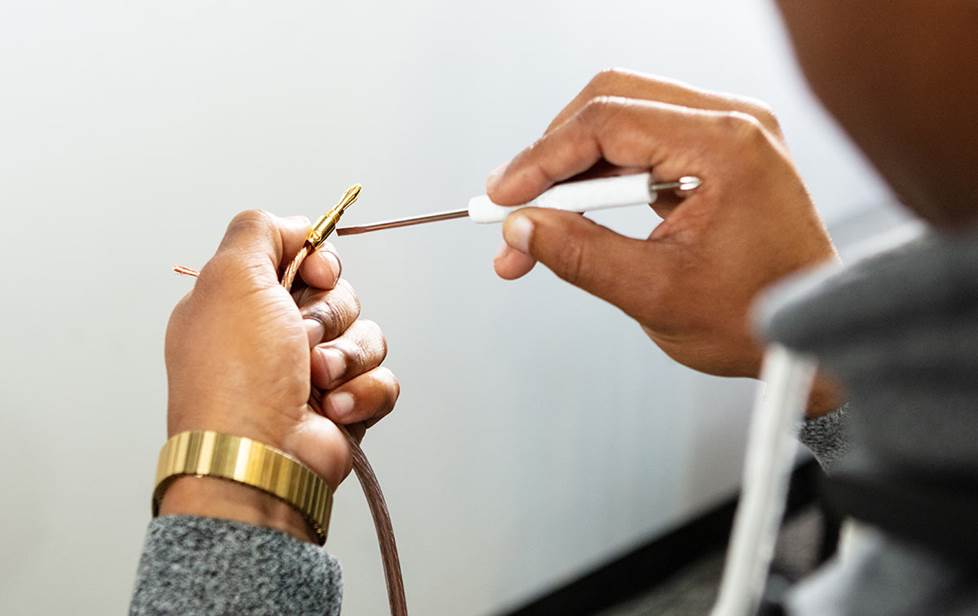
Putting banana plugs on your speaker wire is well worth the effort.
How to put the connectors on your speaker wires
- Split the wire down the center
- Trim insulation from the wire ends
- Attach the connectors, as shown in the video below.
Make sure you match the colors on the connectors (usually black and red) to the colors or markings on each side of your speaker wire. It’s important to be consistent so you maintain the proper polarity.
How to connect your speaker wires to the receiver
Make your speaker connections before you plug in your receiver’s AC power cord. If you need to re-do any of the connections, first turn off and unplug the receiver.
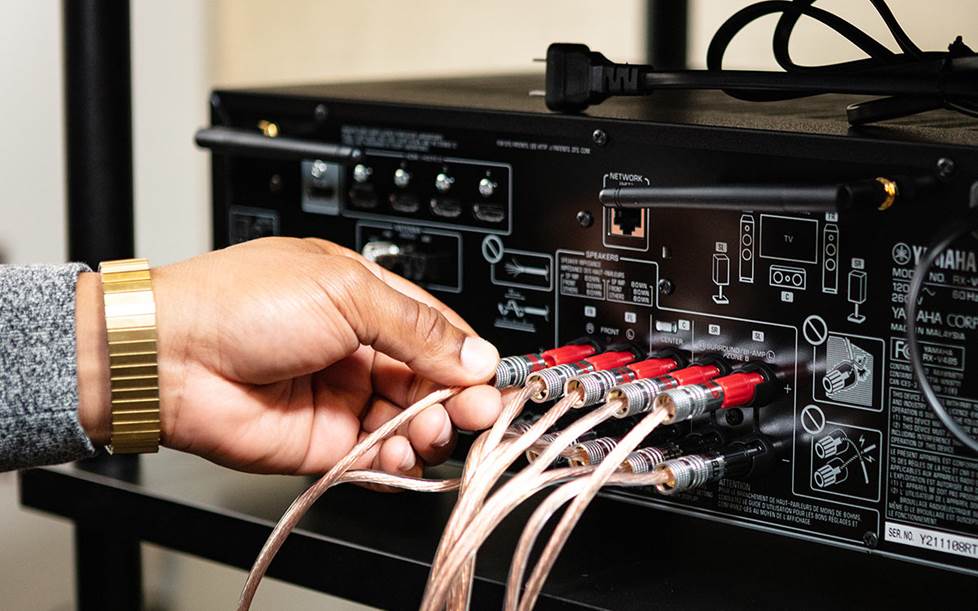
Trust me, connecting bare wire ends to a crowded set of speaker terminals is a real pain. Banana plugs will make your life much easier.
As you plug the speakers in, match the colors on the connectors to the colors on the speaker input terminals.
Power connections
Protect your investment. Don’t plug your gear directly into AC power outlets or cheap power strips. A high-quality power protection device will keep your gear from being fried in the event of an electrical surge.
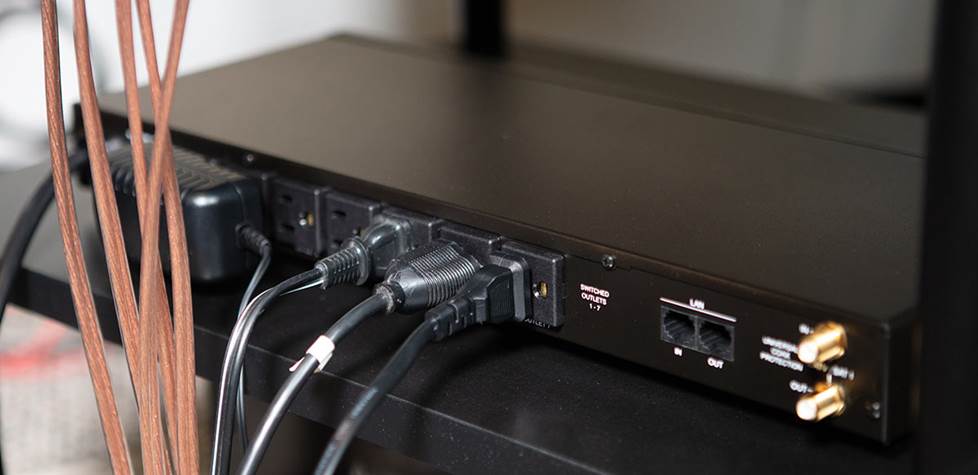
A good power protection unit is a must. Make sure you get one with enough outlets to accomodate all of your components.
A good power protection unit will give you all the outlets you need, and it will filter noise out of your AC power supply. You’ll get surge protection and better performance from your gear.
TV and component connections
Do you have all the AV cables you’ll need? Are you sure they’re the right length?
Don’t have easy access to the back of your cabinet? You’ll need to attach the cables before you slide the components into the cabinet. That means you’ll need longer cables to give yourself a few extra feet of slack.
Frequently used cables you may need
- HDMI, for your cable or satellite box and for AV components like Blu-ray players and game consoles. To make sure you have the right kind of HDMI cables for 4K components, read our article on HDCP 2.2 copy protection.
- RCA for analog audio connections
- Optical or coaxial cables for digital audio connections
Connect your TV first
Many of today’s receivers have onscreen guides that walk you through the setup process. That’s why Step 1 is to connect the TV. Use HDMI output 1 or “Main” on the receiver and HDMI input 1 on the TV.
Are you using your TV's built-in video streaming apps or an antenna for over-the-air TV? Use the HDMI connections marked ARC (Audio Return Channel).
If you have an older TV or receiver that lacks ARC, connect an optical digital audio cable between your TV and receiver. Of course you’ll still need the HDMI connection for the video signal.
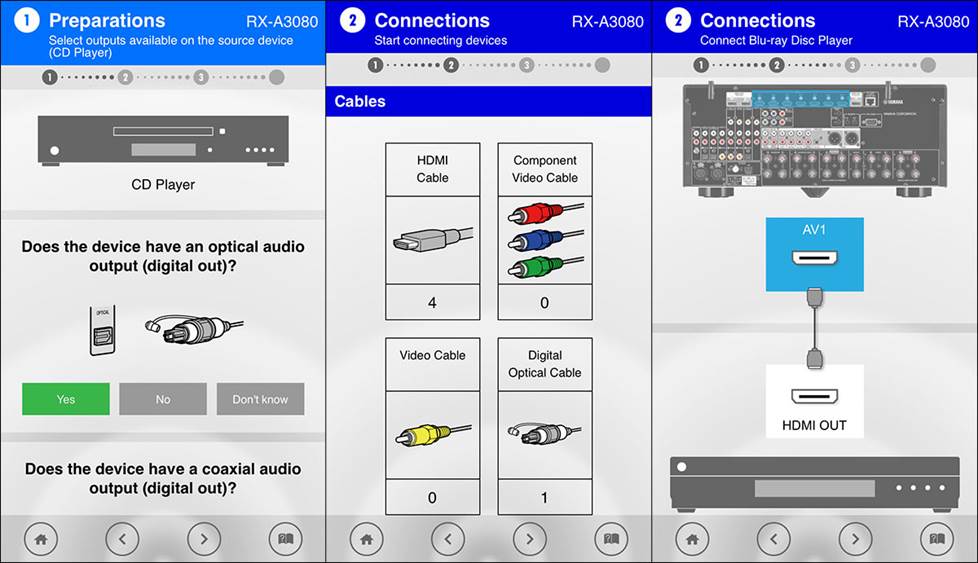
Yamaha's AV Setup Guide app helps you plan and complete your component connections.
To connect your components, follow the onscreen guide
Don’t want to read the manual? Good news – you might not have to. Many of the latest receivers offer a helpful onscreen setup guide or app. You just connect the receiver to your TV and follow the prompts that appear on the TV screen or your mobile device.
How to connect your powered subwoofer
This is pretty simple. Run a subwoofer cable from the subwoofer output on the receiver to the subwoofer’s LFE input. If you prefer a wireless connection, you can get a wireless connection kit.
Check out our subwoofer setup guide for tips on how to dial in the perfect bass for your taste.
Setup and finishing touches
After everything’s connected, it’s time to fine-tune your system and set it up to work the way you want. This is where it helps to read the manual.
The full manual may run well over 100 pages, but it’s worth reading at some point. At least skim through it once. You may be surprised to find some features and settings that enhance your enjoyment or spark some ideas for system expansion.
Speaker calibration
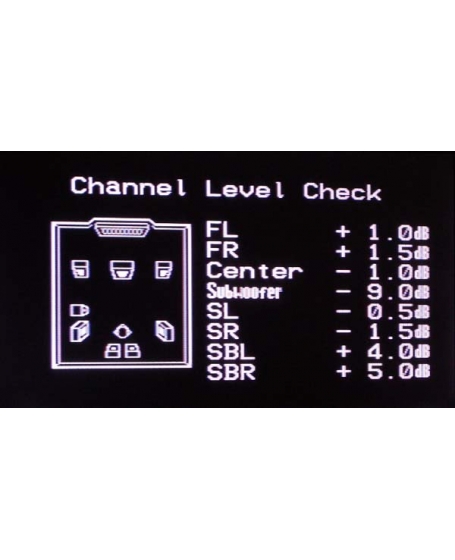
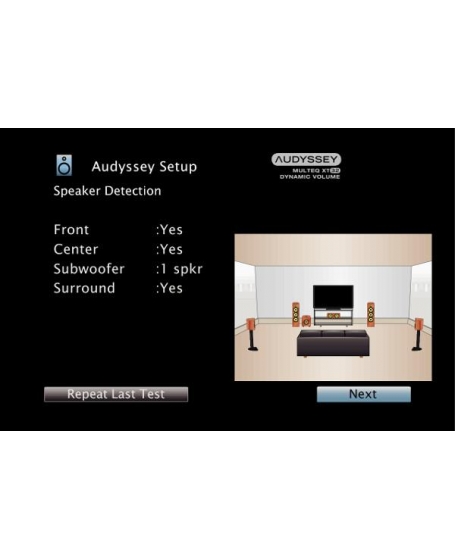
Most receivers come with auto-calibration to fine-tune the sound. Here’s how it works:
The receiver sends test tones to a microphone placed at your seating location. Then the receiver automatically adjusts the volume and timing of the sound coming from each speaker. You get perfectly balanced and time-aligned surround sound.
Network setup
Follow the network setup instructions specific to your receiver model. In most cases, it’s no more difficult than connecting your phone or laptop computer. If your receiver and Wi-Fi router support WPS (Wi-Fi Protected Setup), all you have to do is push a couple of buttons.
Remote control and ease of use
Now that you’ve gotten your system all hooked up, it’s time to think about how you want to control it. Remote controls with dozens of buttons can be difficult. But now there are ways to make things much more user-friendly.
If your receiver offers a remote control app for your mobile device, check it out. Most people find the app easier to use than the handheld remote, especially in a dark room.
The app is a must if you use your receiver for multi-room audio and video. It lets you switch sources and control your streaming services from any room in the house.
Many receivers come with scene buttons – presets for a specific activity, like watching TV or listening to the radio. With one button press, you select the source and all the settings you need for the activity. Scene buttons make things super easy for the babysitter or anybody else who’s unfamiliar with your gear.
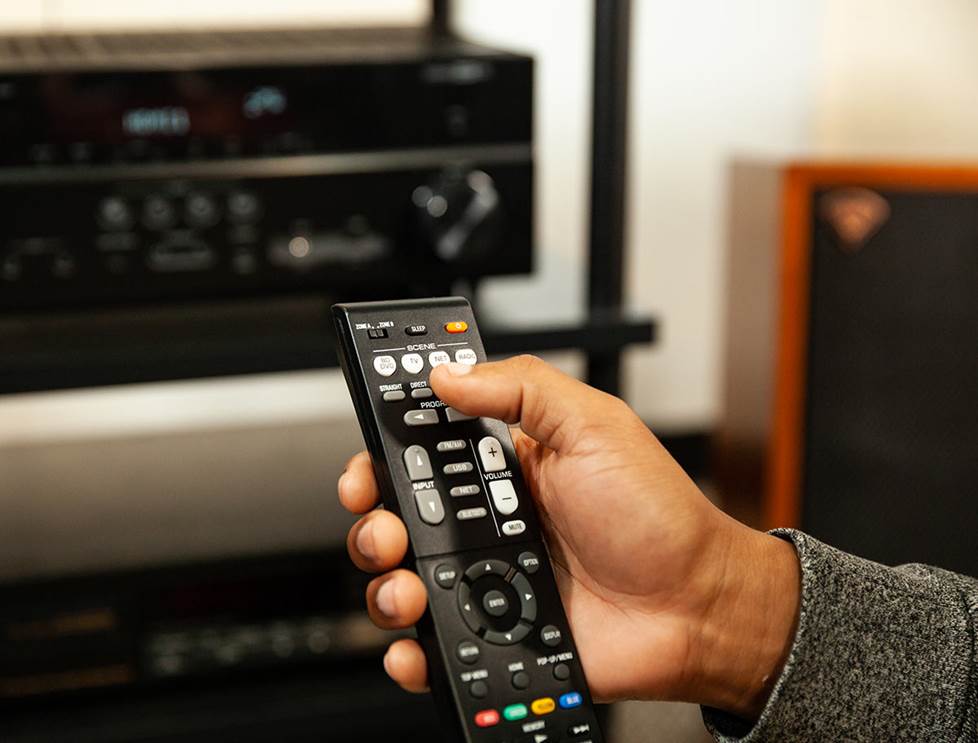
Receivers come with a few scenes pre-programmed, but you can easily edit them or create your own new ones.
The new frontier in remote control is voice command technology from Amazon and Google. Who needs a handheld remote (or even a remote control app) when you can just tell Alexa what you want your receiver to do?
A universal remote takes the scene button concept to the next level. You can sequence commands to multiple components, including your TV, under a single button press or voice command.
A universal remote can also tie your smart lights, security cameras, and other home automation gadgets together with your home AV system.
Can you listen to the TV speakers when the receiver is turned off?
At times, you or your guests may just want to watch TV and not bother with the surround sound. You can do that if your receiver has a feature called HDMI standby pass-through. The signal from the cable box (or another source) goes through to the TV when the receiver is turned off.
If your receiver doesn’t have HDMI pass-through, you can get an HDMI splitter and run a second cable to another HDMI input on your TV. The downside is that you’ll have to switch the input selection on your TV each time you want go from surround sound to TV speakers or vice versa.
What is amp assignment?
Receivers with seven or more channels can be used in many different ways. You’ll use five channels for a basic surround sound system. How can you deploy the additional channels?
- To drive more surround speakers, including Dolby Atmos height speakers.
- To power stereo speakers in other audio zones
- To send four channels of power bi-amp-capable speakers
You’ll have to select the amp channel assignments that suit your needs. The manual will show you all of your options.
Try the DSP settings
Many receivers include digital signal processing effects. The idea is to simulate the acoustic properties of the different movie environments and live music venues. Some are fun and engaging. Others may sound strange to your ears.
For music listening, audiophiles tend to favor the “pure direct” 2-chanel mode that bypasses all signal processing. Other people like to be bathed in sound from all directions, even when listening to a straightforward stereo recording.
As long as you have these options at your fingertips, you might as well give them a try. If you find a setting you like, it’s easy to embed it in one of your scene button settings.
Compressed music enhancement
Lower quality digital music sources such as internet radio and streaming services can sound dull and lifeless. Many receivers have a special setting that makes these programs sound better. Again, this is a setting that can go into a scene button.
Dialog lift
Having trouble hearing what actors are saying when you watch a movie or TV show? See if your receiver has a special setting that allows you to boost or “lift” the level of the sounds in the human vocal range.
How to tame the wire mess behind the receiver
To keep the cables and wires behind your receiver from getting tangled up, use cable wraps or wire ties. Read our cable management article for tips on how to approach this challenge.
We're here for you
Please Do Not Hesitate To Contact Our Team
Fong : 016-3098668
Peter: 012 2536225
Rick : 017-2349074
Copy From CrutchField

